Vidict Live! Admin Panel Documentation
OVERVIEW
The Vidict Live! admin panel is available at https://live.vidict.net/. The purpose of the admin panel is to enable you to track your channel’s statistics, create and broadcast new channels, as well as clarify in detail how REST API calls to Vidict Live! platform works
To use this admin panel you should create an account by submitting the form under Vidict Live! registration page.
LOGGING INTO YOUR VIDICT LIVE! ADMIN PANEL
Perform the following steps to log in to your admin panel:
- Open https://live.vidict.net on your browser. Click on Start Streaming button and the login page will be opened.

-
Enter the registered user email address and password, and click the Sign In button.
-
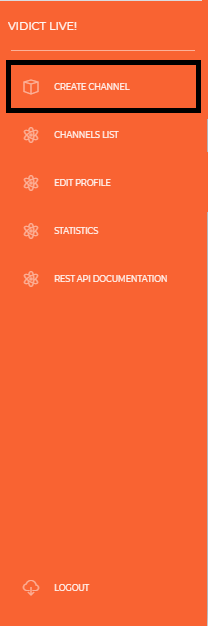
The Admin Panel dashboard displays:

CREATE CHANNEL
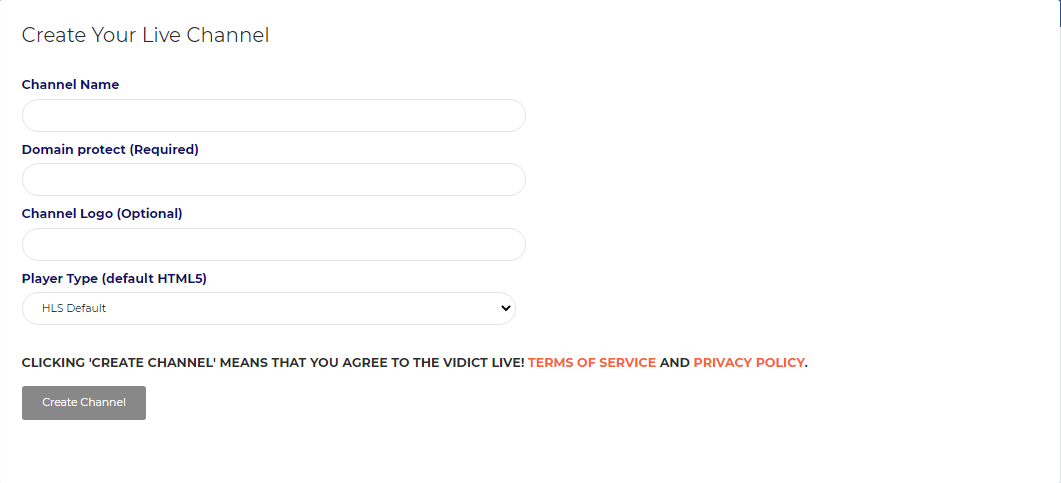
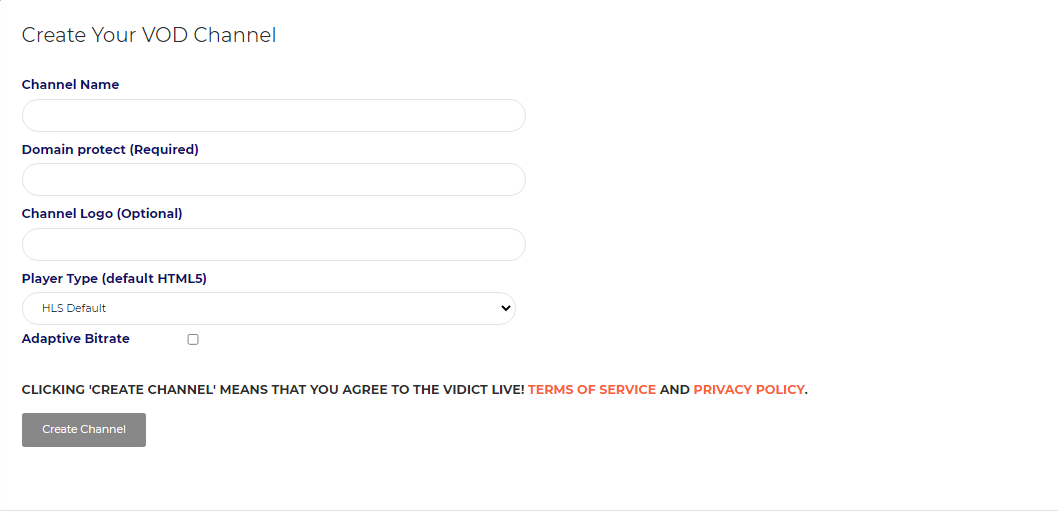
In this section, you will find a submit form for creating live channels where information for channel name, domain protect, channel logo and player type should be inserted. All details are mandatory except the channel logo which is optional. Adaptive bitrate checkbox option can be selected for VOD channels if the channel should be with ABR.
CREATE LIVE CHANNEL
Perform the following steps to create a new live channel:
- Log in to your admin panel account and click on Create Channel link under the left sidebar:
- Fill in details in the submit form and click on the Create Channel button. After creating a channel, you will be redirected to the channels list page where new channel will be listed.
CREATE VOD CHANNEL
Perform the following steps to create a new VOD channel:
-
Log in to your admin panel account and click on Create Channel link under the left sidebar:
-
Click on Create VOD Channel on the top corner of the Create Channel page:

- Fill in details in the submit form and click on the Create Channel button. After creating a channel, you will be redirected to the channels list page where new channel will be listed.
CHANGE DEFAULT PARAMETERS
Default parameters are used while creating channels using REST API calls. Perform the following steps to add/change default parameters:
-
Log in to your admin panel account and click on Create Channel link under the left sidebar:
-
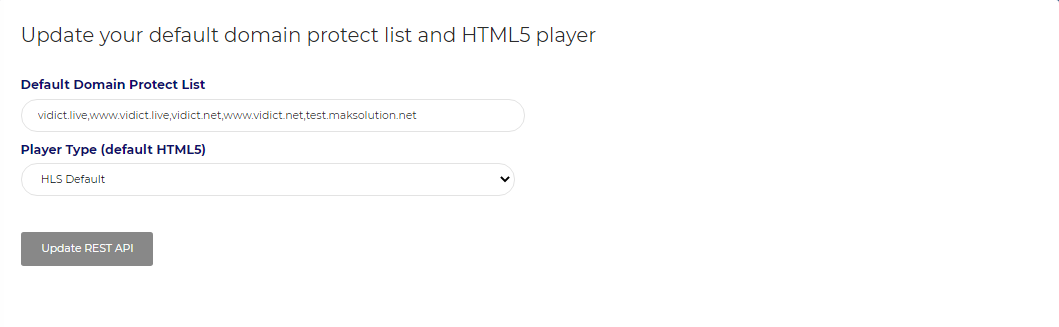
Click on Change Default Parameters link on the top corner of the Create Channel page:

- Fill the details in the submit form by adding a domain protect list (domains where channels can be embedded) and player type, and click on the Update REST API button.
EDIT CHANNEL
In this section, you will have an option for editing channel details. All channel details can be changed except the channel name. For editing channel details, submit form should be displayed where details can be edited.
Perform the following steps to change channel details:
-
Log in to your admin panel account and click on Channels List link under the left sidebar.
-
Click on the channel name of the channel you want to edit.
-
An overview of your channel details will be shown in a submit form. All provided details except the channel name can be changed by clicking on Update Channel button.

PREVIEW CHANNEL
In this section, you will have an option for a preview channel in case you want to test it before embedding. For previewing the channel you will need to click on the Preview button displayed under every channel from list. A new page with HTML5 player will be opened and the channel should be started.
Perform the following steps to preview the channel:
-
Log in to your admin panel account and click on Channels List link under the left sidebar:
-
Click on Preview button of the channel you want to check.

CHANNELS LIST
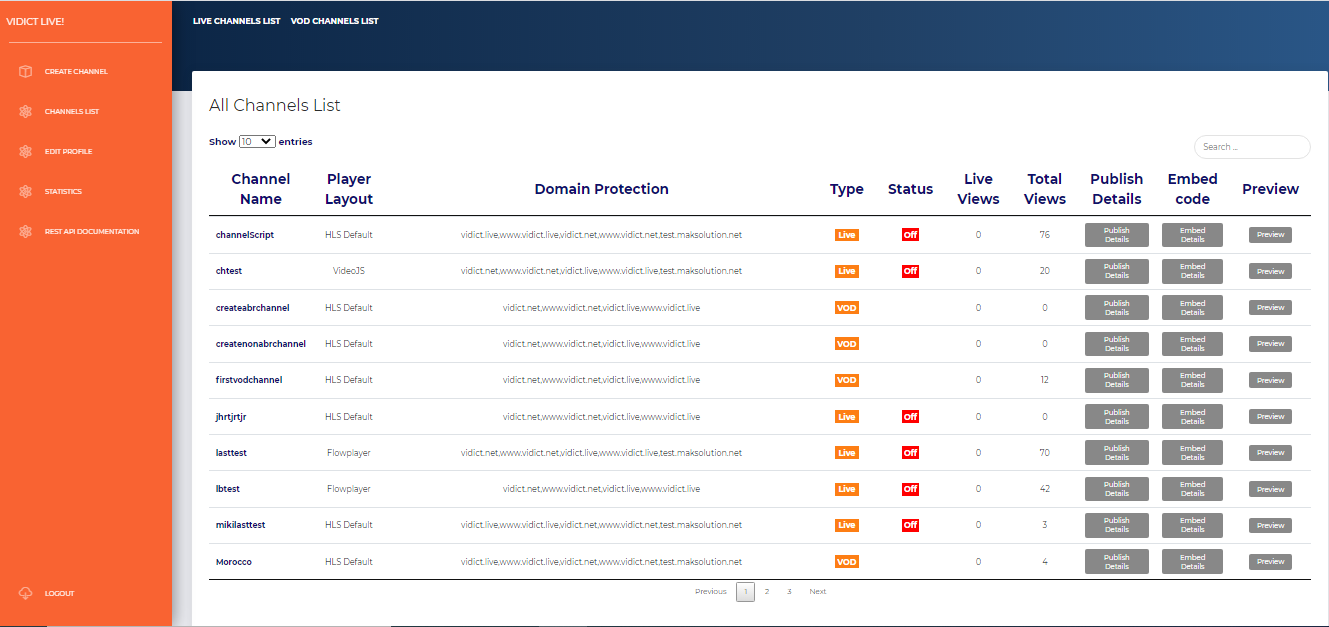
This section will list all channels created under your account. Channels will have information about channel name, player layout, domain protection, type (live/vod), status, live views, total views, publish details, embed code, and preview button for previewing channels. Perform the following steps to view your list of channels:
- Log in to your admin panel account and click on Channels List link under the left sidebar:
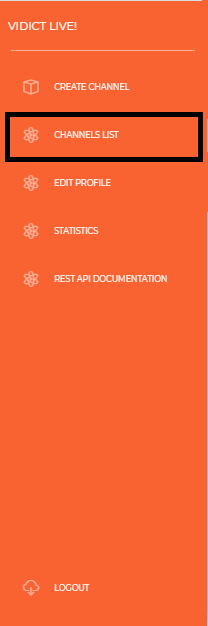
- The default page shows the list of all created channels (live and vod):
LIVE CHANNELS LIST
Live channels list page will list all information for Live created channels only. To see only live created channels, perform the following steps:
-
Log in to your admin panel account and click on Channels List link under the left sidebar:
-
Click on Live Channels List link on the top corner of the Channels List page:

VOD CHANNELS LIST
VOD channels list page will list all information for VOD created channels only. To see only VOD created channels, perform following steps:
-
Log in to your admin panel account and click on Channels List link under the left sidebar:
-
Click on VOD Channels List link on the top corner of the Channels List page:

EDIT PROFILE
In this section, your license key is displayed, and it can’t be changed. The license key is the key associated with you when you request to register in our system. This license key is used for Vidict Live! accounts for security purposes.
Perform the following steps to change your Vidict Live! Admin panel account details:
- Log in to your admin panel account and click Edit Profile under the left sidebar:
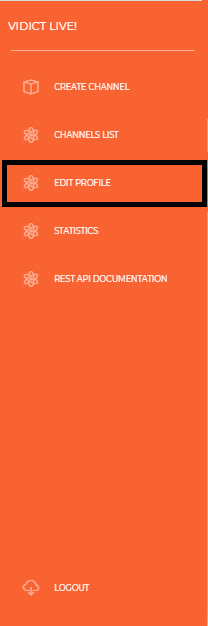
- An overview of your account information will be shown in submit form. All provided details can be changed by clicking on Save button.

STATISTICS
This section is meant to help you track the detailed statistics for your channels, in different periods, providing overall statistics and statistics by channel. Perform the following steps to view your channel’s statistics:
- Log in to your admin panel account and click on Statistics link under the left sidebar:
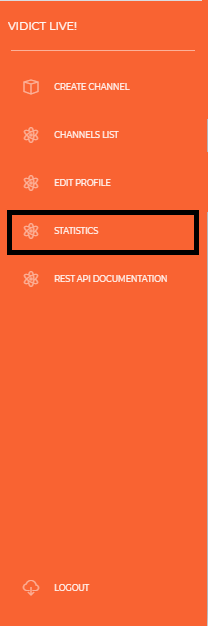
- The default page shows the statistics for the current month, but it can be changed by clicking on the buttons located on the right corner of the page.

Here is an explanation of each part of the statistics page:
-
The top part is showing the total live views for live channels, total live views for VOD channels, total views for all live channels, total views for all VOD channels, total views, and total duration in hours.
-
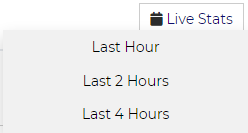
By clicking on the Live Stats button, a submenu will expand. Here you can choose a period for which statistics should be shown.
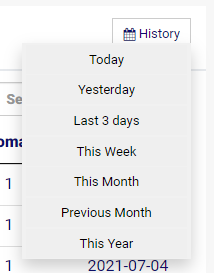
- By clicking on the History button, a submenu will expand. Here you can choose a period for which statistics should be shown.
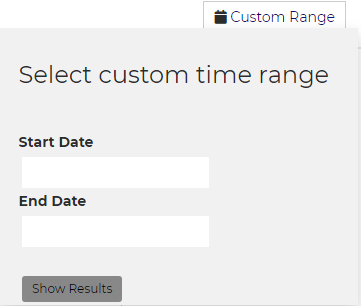
- By clicking on the Custom Range button, a submenu will expand here start date and end date using the calendar should be entered. Statistics will be shown for the selected period.
-
The graph is showing the total views statistics for the selected period.
-
The detailed views percentage per browser, operating system, devices, and protocol.
CHANNEL STATISTICS
This section is meant to help you track the detailed statistics per channel, in different periods, providing overall statistics for the entered channel. Perform the following steps to view your statistics per channel:
- Log in to your admin panel account and click on Statistics link under the left sidebar:

- The default page shows the overall statistics for the current month. Click on Channels Statistics link on the top corner of the Statistics page:

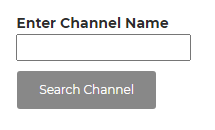
- Enter the channel name in the text field and click on the Search Channel button to see the detailed statistics per channel.
The same kind of statistics is displayed as on the overall statistics page.
REST API DOCUMENTATION
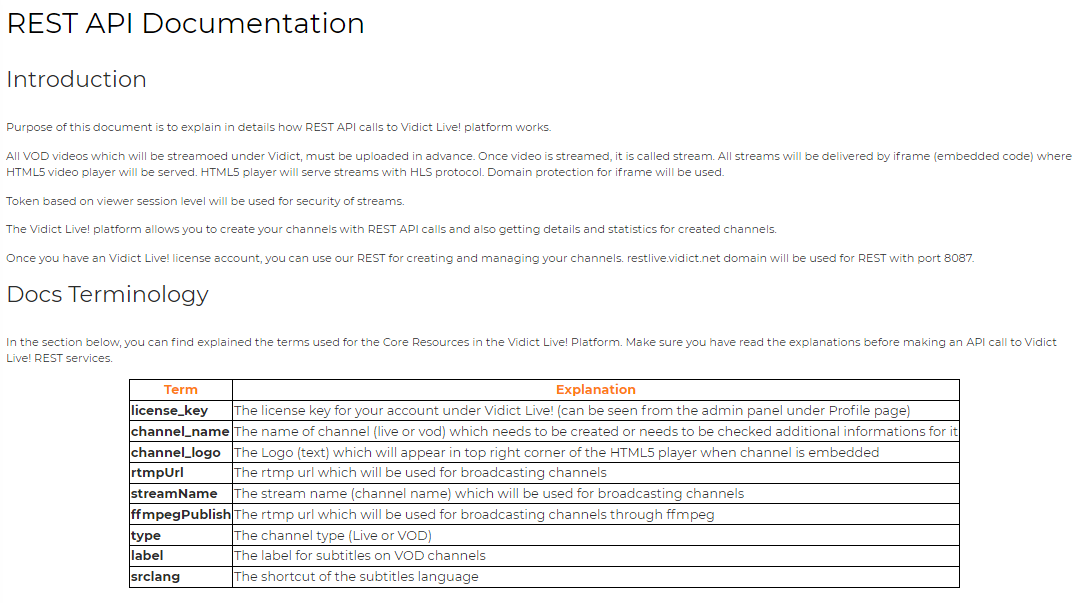
The purpose of this section is to explain in detail how REST API calls to Vidict Live! platform works. ALL REST API calls with example requests and responses are explained under this section. Perform the following steps to view all REST API calls:
- Log in to your admin panel account and click on REST API documentation link under the left sidebar.
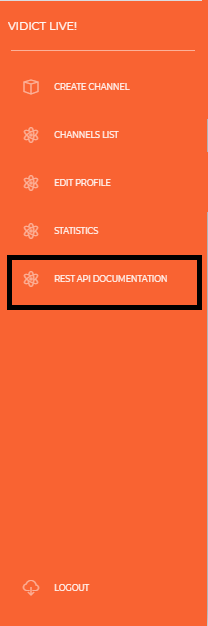
- An overview of all available REST API calls and introduction with docs terminology as well is displayed.
CONTACT VIDICT MEDIA SERVER
To make sure we give you the most relevant information about the Vidict Admin Panel and answer all of your questions, feel free to contact us. Our team will be glad to help you and guide you until full deliveries of your needs.
Email: info@vidict.net
Phone: +389 75 287 737
Website: https://www.vidict.net